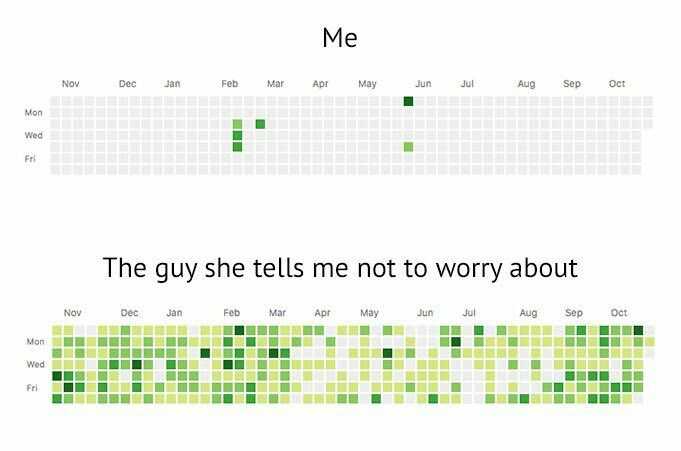
Disclaimer: This is a dumb post, partly due to security vulnerabilities but mostly because no one cares what your contributions graph looks like.
Are you trying to impress recruiters and/or that cute coworker you noticed on a company-wide Zoom call last week? Do you feel inadequate when you have a dick commit-measuring contest with ~the boys~? Or do you just have commitment issues? Don’t worry, I won’t judge because I’m here to fix your woes.
Implementation
⚠️ Warning: This bot was configured on macOS Catalina. It has NOT been tested on anything else. Setting it up can also cause security vulnerabilities. Implement at your own risk. ⚠️
The TL;DR
We’ll use a python script to randomize and execute the commits — it’d be weird if you committed the same amount of times every day. Then we’ll run a local cron job to execute the script.
1. Clone my repo
git clone https://github.com/karenying/commit-bot.gitThere are two files in this repo: app.py and output.txt.
Let’s take a look at app.py:
app.py
from os import system
from random import randint

THRESHOLD = 3
MAX_COMMITS = 3

def commit():
  system("echo $(date) >> output.txt")
  system("git add output.txt")
  system("git commit -m Update output.txt")
  system("git push")

if (randint(0, 10) > THRESHOLD):
  for i in range(randint(0, MAX_COMMITS)):
    commit()
The commit function writes the current datetime to output.txt. It then adds, commits, and pushes the change. We use the os module to execute the git commands via terminal.
In order to randomize, we generate a random integer between 0 and 10 and check if it’s greater than a set threshold; The larger the threshold, the less frequently the commits will occur. If the random int passes the threshold, we generate another random int between 0 and MAX_COMMITS. We then commit that many times.
Change THRESHOLD and MAX_COMMITS to suit your needs. Feel free to change the commit message as well.
2. Create a new private repo
Go to GitHub and create a new repo. Name it whatever you want but make sure you hit private (unless you want everyone to see your shenanigans 🤪):
Next, we need to connect our cloned repo to this newly created repo:
rm -rf .git
git init
git add .
git commit -m "Initial commit"
git remote add origin https://github.com/[USERNAME]/[REPO NAME].git
git push --set-upstream origin master
Great. Now if you visit your new repo on GitHub, you should see app.py and output.txt.
One more thing. On your profile, check that private contributions are on:

3. Grant Full Disk Access to cron
We need to give cron access to your files in order for it to run app.py.
⚠️ Warning: This is NOT a good security practice. A malicious person / program could create cron jobs that also have Full Disk Access and modify your data. ⚠️
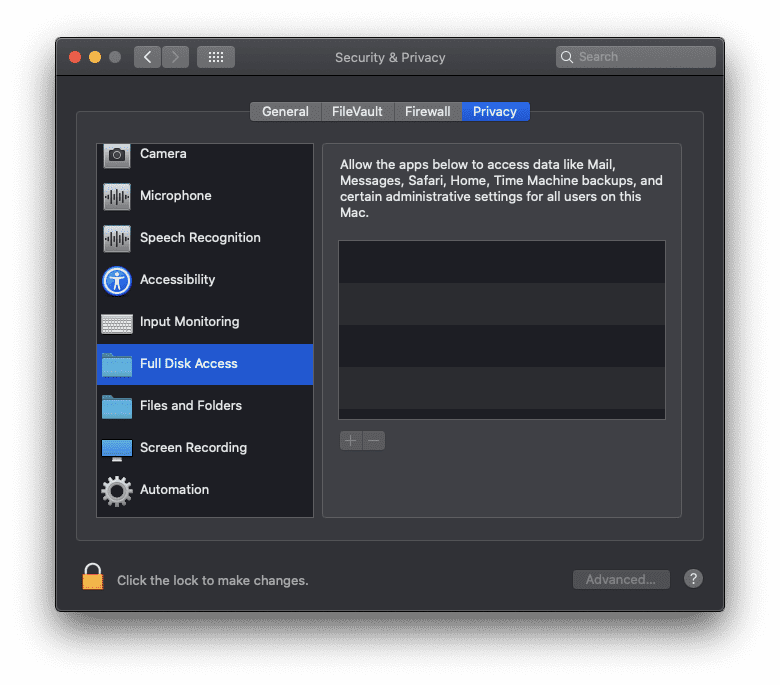
Navigate to System Preferences > Security & Privacy > Privacy > Full Disk Access:
Click the 🔒 and then the + sign. Open Go to Folder with ⌘ ⇧ G and enter the path /usr/sbin/cron. Select the cron program and hit Open. Click the lock again.
4. Save GitHub credentials on disk
Cron also needs access to your GitHub credentials. So we’re gonna cache them on your computer.
⚠️ Warning: This is NOT a good security practice. It stores your GitHub credentials as plaintext on your computer. This means that malicious NPM packages can access them. ⚠️
If you can sleep at night knowing that, then proceed with:
git config credential.helper store5. Create a cron job
Finally, we’re ready to schedule our cron job. We’ll be using crontab which is native to macOS / linux.
First, pick when you want the cron job to run. For example, I chose 10:30 AM every day because I know my computer will most likely be awake then. See this site if you’re unfamiliar with cron syntax.
For 10:30 AM daily, the cron job time prefix would be 30 10 * * *.
Immediately following this, we have the command that we want the job to execute: cd [PATH TO FOLDER] && python3 app.py.
Here’s my job with the time and command together:
30 10 * * * cd ~/Documents/commit-bot && python3 app.pyTo add this job, in your terminal:
crontab -eThis will open up a Vim editor. Paste in the one-liner from above. Write and quit with :wq.
And that’s it! Hopefully after these steps, you’ve successfully set up your commit bot.
Conclusion
Security vulnerabilities aside, this commit bot will stack your contributions graph. You’re welcome. Now when people see your GitHub profile, they will think damn this person codes.
I personally don’t use this bot because 1. the aforementioned security issues and 2. I think I already look like I code 😉
Anyway, congrats! You are officially on your way to becoming the guy she tells you not to worry about.
Thanks for reading. Happy hacking!


